Digital Matte Painting
Week_01
1.Matte Painting -> Is a painted representation of landscape, environment or set.
2.As you look into the distance, the view gets bluer, due to the water elements in the air.
3.While creating a Matte Painting, the colour and saturation fall off is extremely important.
4.Paralex Movement (when object further moves slower than the ones closer.)


For this exercise, we used various images to create a completely new and different scene.


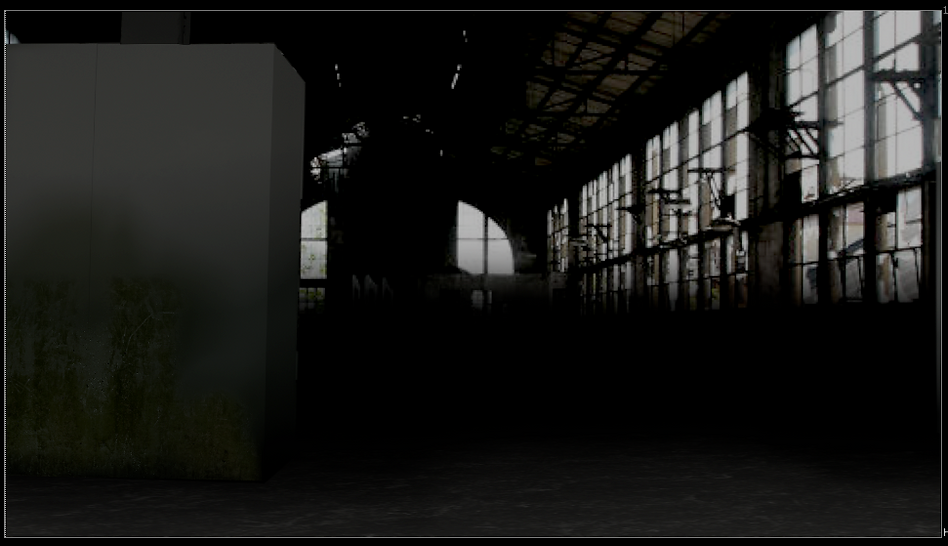
Chernobyl Assignment
Task:
To create an established view of Chernobyl before the catastrophe based on the TV series Chernobyl (2019).
We had to use Photoshop in combination with NUKE to create a realistic moving image. For more advantage step, Maya could be used to create even more realistic scene.
Assignment _02
Moodboards


WEEK_07
Key, despill and denoise Day_01

Today we looked at the industry standard keying technique, which uses various different nodes.
Advises:
1. Make yourself little timed tasks everyday!
2.Creating small models will benefit to create complex detail for a model in the future.
3. Look at the people, who were successful and learn techniques & strategies.
4. Practise when it is quiet, to be prepared for the war.
5. Become fast.
6. Have an order.
7. when creating, think of the experience, you would like to give.
8. Learn Wordpress.
9. RISK (Know your odds and act accordingly).
10. Have a contrast, don't get compared to others.
11. Knowledge -> £££ <- Knowledge.
12. Think like a Company (have 3- 6 months savings.
These videos shows and industry standard keying and despilling in NUKE.


After all this process, everything is merged with a background sequence.
Day_02

This is the final result of Day 2.
We started with a quick keying exercise and carried on working on our shot.
On day 2, Josh showed us how to do a great smoke effect.
To the who, I also added GodRays, animated so that they would be passing from left to right. Using rotoscoped shapes, I adjusted shadows and lights.
For Smoke:
Noise(A)->merge over the the top
Noise->transformation. set key (for ex x=200)
Blur Background (300)
Grade (gamma down+gain up)
Merge (set to multiply) -> merge (plus)
For thicker result: add copy ->prebuilt
Day_03
Mad Hatter's Tea Party Group Project

Idea:
The idea was to have a forest or quiet 'magical' place as a background, have a table in the front, covering most of the sofa, so it would make an illusion, that this guys is at the end of the table, having a feast. In the Background, we would have fireflies or something similar flying around.
Modeling a Teapot with a teacup


Christmas advert project
28.11.2019


Christmas Ad Project

That is my moodboard for the Snow Globe. I decided to got for a simple look, maybe wooden bottom and have my scene in a globe.


In preparation for the texturing, I used a UV checker board to manually do the UVs and use it in Substance Painter.

A Trial Render with a glass ball.

1. Using CG objects in a globe inside.
2. Combination of CG and Video footage snow.
3. 360 image when zoomed out.
Christmas Ad
Creating my Christmas Ad:
1. Created a snow globe shape.
2. Added castle with some texture. Uv'ing was done only on the visible side of the castle.
3. Applied mesh light to the lanterns. Simply used a sphere and made it into a mesh light.
4. Added snow : Created a high poly plane, deformed by using Maya sculpting tools and applied a snow texture (plus added it to displacement ap to add some more details) and scaled the texture up.
5. Created Half sphere and placed it along my globe ceiling. Used as a particle emitter and by adjusting size and particle lifespan, I created 'artificial snow' effect.
6. Filmed the video and added to Nuke to track the camera move.
7. Once I was done with it, I imported camera into Maya, duplicated, deleted all the keyframes and left it static to render the scene.
8. Once rendered, I added it into NUKE, used it as a card projection alongside the real image and applied the original camera move.
9. Zoom in transition was done in After Effects.


