Nuke 3d and Camera projection
Week_01
In this session, we were learning a Camera Projection in NUKE.
In this video, we were trying out 3D camera and later on, using a still image to create an illusion of video & depth.


In this exercise, we tried a camera projection.
1.Created Cube and Cylinder
2. Added textures (Checker board & ColorBars)
3. Created camera

1. Create Cube and Cylinder (place them next to each other) ->
2. Add 'Scene' node (Connect the Cube and Cylinder) ->
3. Add Checkerboard ( connect to Cylinder) and Cube (Connect to Cube) ->
4.Add 'Camera' node (connect to the 'Scene' node) ->
5. Move and place the camera in the scene by swiping into different camera views ->
6. Set the start and finish keys for camera ->
7. Add 'Scanline Renders' node and connect cam to 'Camera and scn/obj to the 'Scene'.

Creating Tunnel Illusion
In this exercise, we were creating a moving camera illusion into the Tunnel based on a 2D still picture.
1. Open up 'Render_Cam' (already provided camera movement).
2. Add 'Project3D1' node and
connect it to the tunnel image.
3. Add 'Cylinder' and
connect at the end of
the node tree.

4. Add 'Scene' node and connect it to the bottom of the tree.
5. Add 'Scanline Render' and connect it the scn/obj to the end of the nodal tree and cam to the pre-made Camera node.
6. Rotate and Scale the Cylinder.


7. Add a FrameHold and connect 'Render_Camera' node and cam to the 'Project3D1'. (frame 1001)
8. Scale and rotate the Cylinder (Scaling or rotating too much, can cause image distortion).


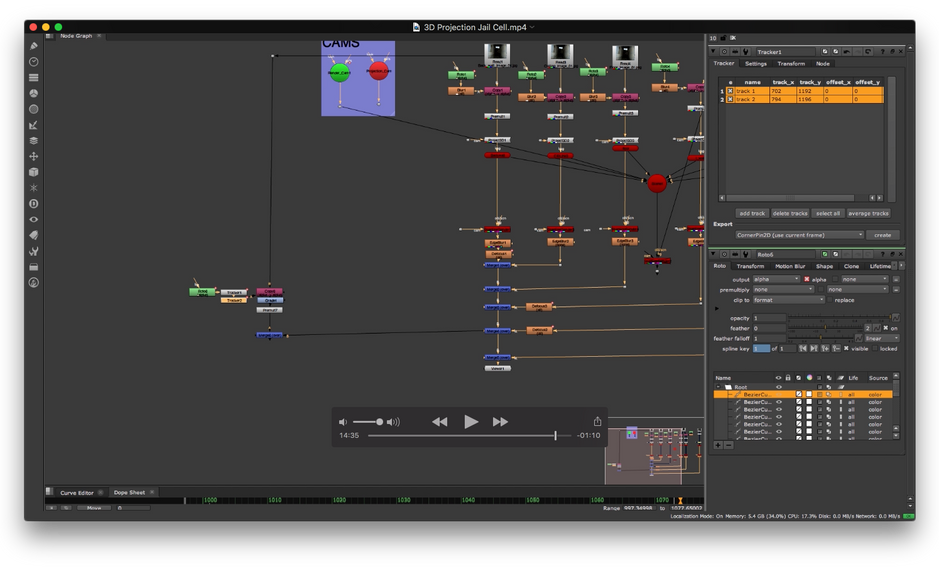
Jail Cell Projection
In this exercise, we were making a Jail cell Camera Illusion.
We had already prepared pictures with alpha channels and pre-made Camera nodes.
NUKE 3D Tracking
Week_02
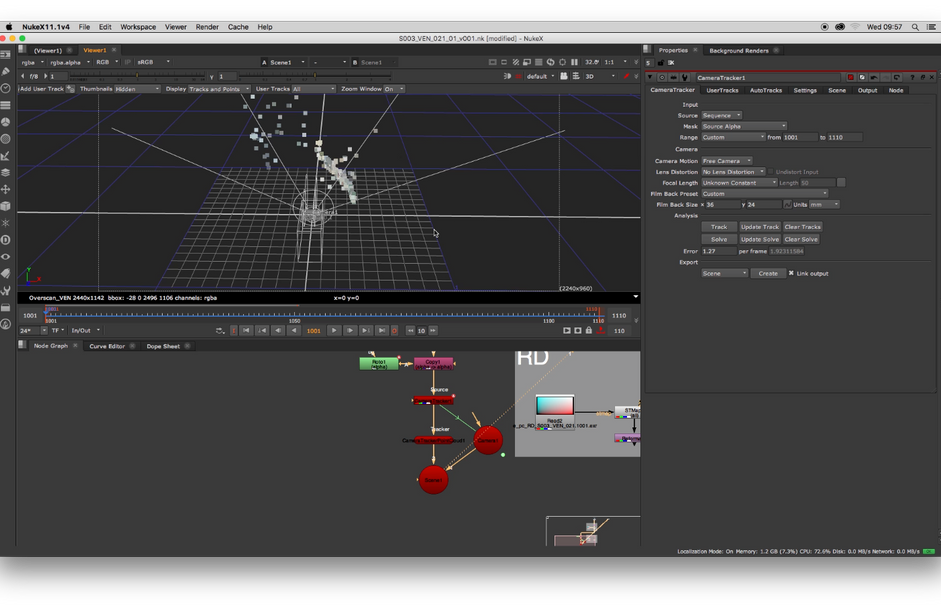
We were using 3D space to do the tracking in NUKE.
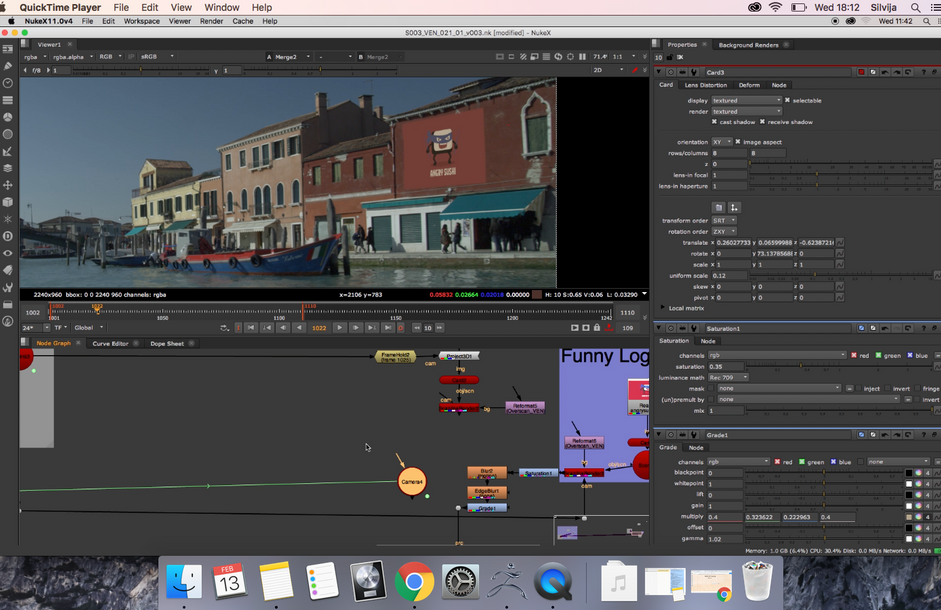
1.We created a ROTO shape to roto out the water.
2.Tracked the scene
3.Added a plane ( with checker board texture)
4. Rotopainted the window
5. Changed the Checker board into an image.
Intro to 3D Equalizer
Week_03
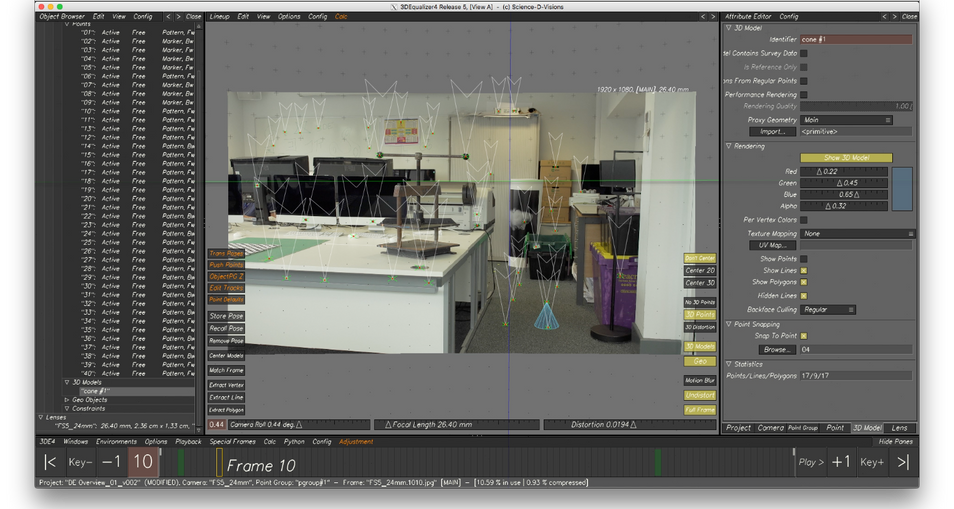
In this session, we had an intro to 3DE. We also tried some tracking and importing a 3D object into the video.
1. We added tracking marks ( around 40, markers (Ctrl+Click), different pixel patterns and sometimes edges), always remember to deselect the trackers (alt+Click)
2. We tracked every tracker separately. If by any chance we would start tracking from the mid of the video, we can use shortcut combination to track the rest (A(Keyframe) + R(Reverse) + E(End Frame)).
3.We also changed to the correct lenses, that were used.
4. We used 'Calculate from the Scratch' (Atl+C) and Parameter Adjustment to add some extra information.
5. After, we added locators and lined up the markers, to have a more correct line-up.
6. Added a 3D shape and snapped to the one of the locators.
7. In the end we made some adjustments (rotation, scale, translate), to correct the position of the shape in the 3D space.
Lenses and Cameras
Week_04
In this session, we were learning:
1. How to adjust camera settings
2. Track difficult scene with a complicated motion blur
3. Calculate the scene
4. Use Parameter Adjustment
5. Orient and work in a 3D window and a understand a Lineup Control
6. Making sure that the deviation is correct
3 DE Freeflow and NUKE
Week_05
1. Tracking and Calculating the scene
2. Making Locators
3. Creating a 3D object (to check if the track is working)
4. Snap the 3D object to the tracking point and adjusting it
5. Exporting to NUKE
6. Placing Locators and 3D object into the scene.
7. Painting out the white board and by using Card node (roto and rotopaint), replacing the white board.
Lens Distortion Grid
Week_06
In this session, we were using a lens distortion grid to undistorted the image.
1. Tracking the scene (around 25 points)
2.Calc everything and adjust parameters
3. Import checker board
4. Use Distortion grid to align the points
Assignment
Week_07
Assignment_01
In this assignment, we had to track the scene by using 3D Equalised, add locators and a 3D object.
Using Nuke, we had to remove the 'Exit' sign and replace it by using the rotopaint, connect locators and the object into the scene.
Maya/Nuke Roundatrip
In this session, we were looking, the workflow of Maya and Nuke.
We learnt, how to create an image sequence in Nuke, use it in Maya, to locate the placement of the 3D object.
How to export a camera movement from 3DE to Maya, and render the sequence.
To finish off, we imported everything to NUKE and by making couple of adjustments, rendered the video sequence.
That is the final rendered video in Nuke. You can see, that the object is still sliding off a bit, which could be cause, by incored trackers or a lense distortion.
Surveys
In this session, we were using specifically provided survey information, to get the tracking and distances better.
We also looked up some video brightening functions, to help to track dark or hardly visible places.
Final Assignment
The final assignment went a little wrong.
I used a garbage map to cover up the background, but the 'clipping black and white' options, made everything look very noisy.
Rota looks pretty bad as well, since it was a big job, to roto out the table from the little ants.
I will definitely use the footage again and incredibly improve this shot.


